| Below are a list of frequently asked questions. If your question is not answered please contact us
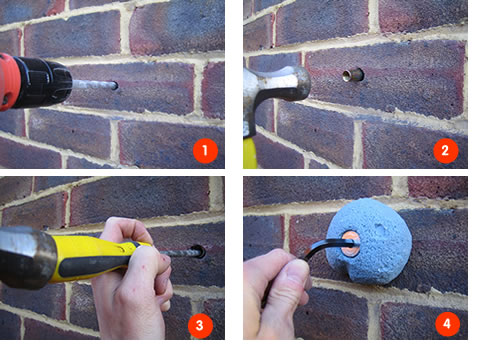
Q: Can your holds be fixed to brick?
A: Yes, our bolt on holds can be fixed to brick using Expansion sockets available in the hardware section. Screw on holds are not so good on brick but can be fixed using a standard raw plug
Q: What are the best holds for a child?
A: All our child friendly holds can be found here
Q: What are all the different types of holds?
A: All types of holds are explained on this page
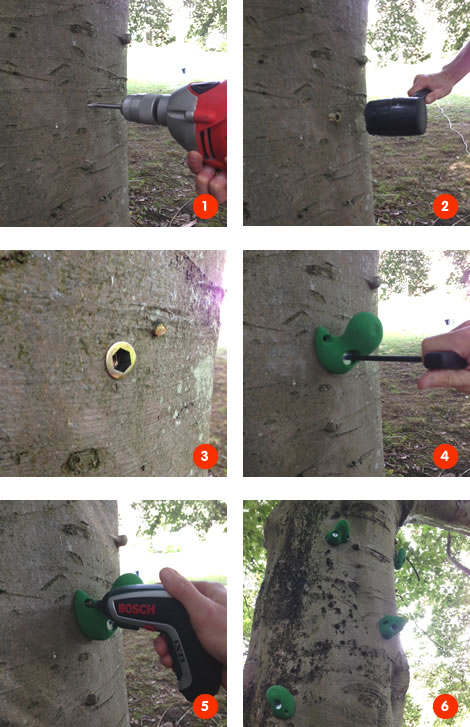
Q: Are your holds ok to be used outside?
A: Yes, all our holds can be used outside
Q: How many holds do I need?
A: A good basic coverage is five holds per square metre. However this should be increased for children. For a traverse 10 holds per metre is plenty
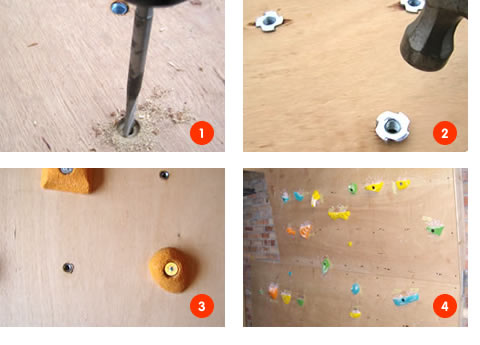
Q: What is the best way to go about building my wall?
A: There is a basic overview of fixing to wood and brick on our how to page. Some more detailed information can be found at the following links: Building a campus board , Building a climbing wall


|